Video Doorbell Installation: 7 Tips for a Smarter, More Secure Home
A video doorbell is one of the simplest security upgrades you can make. It lets you see who is at the door from anywhere, talk to delivery drivers, and record anyone who walks up to your home. But the quality of your video doorbell installation decides how well it actually works. A camera mounted too high, a weak WiFi signal, or the wrong transformer can turn a great device into a source of missed alerts and blurry clips.
If you are still deciding whether a doorbell camera is worth it, start with our guide on Video Doorbell Installation and why every home benefits from one. This article picks up where that one leaves off. Below are seven practical tips our technicians use on real Texas homes, covering placement, power, WiFi, settings, privacy, weather, and how to connect your doorbell to the rest of your security system.
Video Doorbell Installation Tips at a Glance
Choosing the right video doorbell starts with deciding between a wired or wireless model. Make sure the device is compatible with your existing doorbell wiring to avoid battery-related issues or installation problems.
Mount the video doorbell approximately 48 inches above the ground to capture clear facial details rather than the tops of visitors' heads. Before connecting a wired doorbell, check the transformer voltage and existing chime compatibility to prevent buzzing, unexpected reboots, or a non-working chime.
A strong WiFi connection is also essential for smooth video streaming and reliable notifications. Test the upload speed at the exact mounting location to reduce video delays, connection drops, and missed alerts.
Once installed, customize motion detection zones, sensitivity levels, and smart notifications to avoid unnecessary alerts from passing cars or nearby activity. For better privacy and security, use strong passwords, enable two-factor authentication (2FA), and configure privacy zones to protect your neighbors' spaces.
Finally, consider Texas weather conditions when choosing the installation location. Position the doorbell in a shaded area where possible, use wedge kits for better positioning, and consider surge protection to help protect the device from extreme heat, direct sunlight, and storms.
Tip 1: Decide Between a Wired and a Wireless Video Doorbell Before You Buy
The first decision in any smart doorbell installation is how the device will get power. That choice shapes everything else, from mounting to maintenance.
Wired Video Doorbells
A wired doorbell connects to the low-voltage doorbell wires already at your front door. It gets constant power, so it never needs charging, and many wired models offer features that battery models limit to save power, such as continuous live view, faster wake-up, and pre-roll video that shows the seconds before motion was detected. If your home already has a working doorbell, a wired model is usually the best long-term choice.
Wireless (Battery) Video Doorbells
A wireless video doorbell installation is faster because there is no wiring to connect. These models run on a rechargeable battery and connect over WiFi. They are a good fit for renters, homes with no existing doorbell wiring, gates, and side entrances. The trade-off is upkeep. Depending on traffic at your door and your settings, you may need to recharge every one to several months, and heavy activity drains the battery faster.
Quick rule: If you have working doorbell wires, go wired. If you do not, or you cannot drill, a battery model still gives you excellent front door coverage.
Tip 2: Mount Your Doorbell Camera at the Right Height and Angle
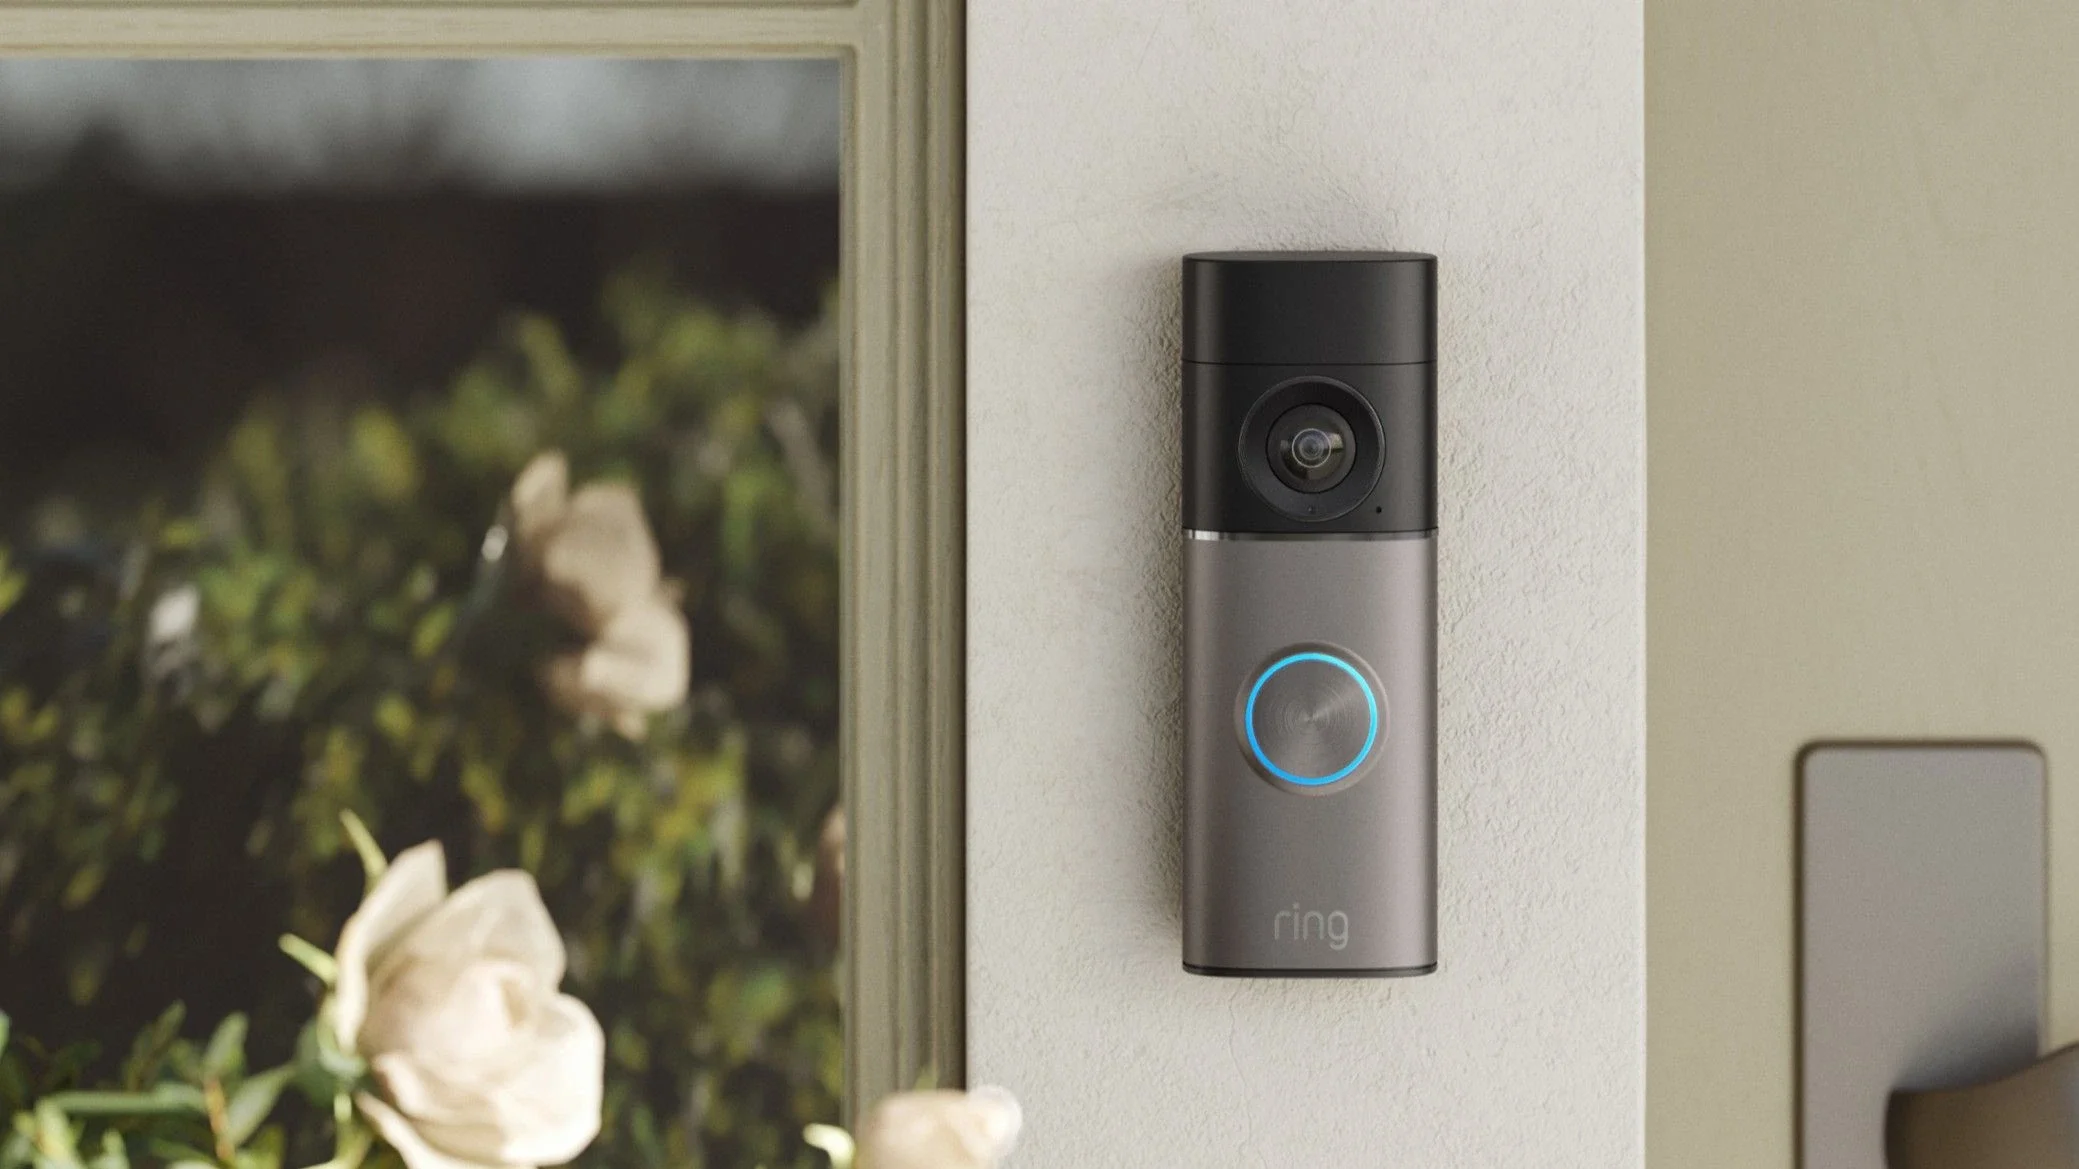
Placement is where most do-it-yourself video doorbell camera installation goes wrong. Many manufacturers recommend mounting the doorbell about 48 inches (4 feet) above the ground. At that height, the camera captures faces straight on instead of the tops of heads and hat brims.
Keep these placement tips in mind:
Frame the approach, not just the door. Stand where a visitor would and check the live view. You want the walkway and the porch, plus room to see packages left near the door.
Use an angle or wedge kit when needed. If your door sits in a recessed entry or faces a wall, a corner kit angles the camera toward the path visitors actually take. A wedge kit tilts it down to see packages on the mat.
Avoid direct backlight. A doorbell that faces a bright street or the setting sun can turn visitors into dark silhouettes. Turn on HDR if your model offers it, and adjust the angle so the sky is not dominating the frame.
Keep it reachable but secure. It should be easy for guests to press, but use the included security screw so it cannot be pulled off the wall.
Before you drill, hold the doorbell in place, open the app’s live view, and confirm the picture. Moving a mount after the holes are drilled leaves visible damage on brick and stucco.
Tip 3: Check Your Transformer and Chime Before Wiring
This is the step most online video doorbell setup guides skip, and it causes many of the problems we are called out to fix. Traditional doorbells use a small transformer that lowers your home’s 120-volt power to a low voltage, often around 10 to 16 volts. Many video doorbells need more, commonly 16 to 24 volts AC, to run the camera, WiFi radio, and night vision at the same time.
When the transformer is too weak, you may see:
The doorbell rebooting or going offline, especially at night when infrared turns on
A battery icon that never reaches full on a “wired” model
A chime that hums, buzzes, or stops ringing
Live view that freezes or drops after a few seconds
How to Check Your Doorbell Power
Your transformer is usually mounted near your electrical panel, in the attic, in a closet, or on a junction box in the garage. Its voltage and VA rating are printed on the label. Compare those numbers with the requirements listed by your doorbell’s manufacturer. Also check whether your chime is mechanical or digital. Digital chimes often need an adapter or a bypass kit, which is usually included in the box or available from the manufacturer.
Safety note: Always turn off power at the breaker before touching doorbell wires, and leave any transformer replacement to a qualified professional. The transformer connects to line voltage, which is a shock and fire risk if handled incorrectly.
Tip 4: Test Your WiFi Signal Where the Doorbell Will Live
Your front door is often the farthest point from your router, separated by brick, stucco, metal doors, and several interior walls. A doorbell that shows a strong signal inside the house can struggle on the porch.
During video doorbell setup, follow these steps:
Test at the door, not the living room. Stand on the porch with your phone on WiFi and run a speed test. Pay attention to upload speed, because your doorbell sends video out. Many manufacturers recommend at least 2 Mbps of upload speed for each video device.
Check the signal in the app after installation. Most doorbell apps show a signal strength reading. A weak reading means lag, missed motion events, and slow answers when someone rings.
Add a mesh node or extender if needed. A mesh WiFi point placed near the front of the house often fixes a weak doorbell signal for good.
Know your band. Some doorbells connect only to 2.4 GHz WiFi, which travels farther through walls. Dual-band models can use 5 GHz for faster speeds when the router is close.
If you have several cameras plus a doorbell on one network, your total upload speed matters too. When the network is the weak link, a hardwired access point or structured cabling is often the real fix.
Tip 5: Fine-Tune Motion Zones and Alerts After Setup
A new doorbell that pings you every time a car drives by will quickly get ignored, which defeats the purpose. Spend 15 minutes on settings after installation and you will get far more useful alerts.
Draw motion zones. Include your walkway and porch, and exclude the street, sidewalk, and swaying trees.
Adjust sensitivity or motion range. Lower it if you get constant false alerts, and raise it if people reach the door before you are notified.
Turn on person and package detection. Many doorbells, often with a subscription plan, can tell people and packages apart from cars and animals.
Use rich notifications. A snapshot in your phone alert lets you see who is there without opening the app.
Set quick replies or a greeting. Let delivery drivers know where to leave packages when you cannot answer.
Set a recording schedule if needed. Some homeowners turn off motion alerts during busy hours at home but keep recording on.
Check your settings again a week later. Real-world traffic at your door tells you more than any default setting.
Tip 6: Protect Your Privacy, Your Account, and Your Neighbors
A doorbell camera is a connected device, so it needs the same care as your phone or online banking.
Secure Your Account
Use a strong, unique password for the doorbell app and turn on two-factor authentication.
Keep firmware and the app updated, and turn on automatic updates where available.
Review which family members have shared access and remove anyone who no longer needs it.
Consider putting smart devices on a separate guest or IoT network so they are isolated from your computers.
Respect Privacy Around Your Home
Use privacy zones. Block out a neighbor’s windows, yard, or doorway so they are not recorded.
Know your audio settings. Many doorbells record audio by default. You can turn audio recording off in the app if you prefer.
Point it at your property. Recording your own porch and walkway is standard practice. Aiming a camera into a neighbor’s home or other areas where people expect privacy can create legal problems under Texas law. If you are unsure, ask your installer or an attorney.
Understand storage. Know how long clips are saved in the cloud, who can access them, and how to delete them.
Tip 7: Plan for Texas Heat, Sun, and Storms
National installation guides rarely account for a Texas summer. Whether you live in Austin, Corpus Christi, or anywhere in between, the weather is hard on outdoor electronics.
Heat. Direct afternoon sun on a dark door frame can push a doorbell well past the outdoor air temperature. Check the operating temperature range on the spec sheet and favor a shaded entry or a covered porch. Extreme heat can also reduce battery life and slow charging on wireless models.
Sun and glare. West-facing doors face harsh late-day sun. HDR and a slight downward angle help keep faces visible.
Humidity and salt air. Along the Coastal Bend, moisture and salt can corrode exposed screws and terminals. Use stainless hardware, seal the gap behind the mount, and check the faceplate a couple of times a year.
Storms and outages. Power surges from storms can damage doorbells and transformers. A whole-home surge protector helps, and a battery backup on your router keeps WiFi running during short outages, since a doorbell without internet cannot send alerts.
DIY vs. Professional Video Doorbell Installation
A battery doorbell on a home with strong WiFi is a reasonable weekend project for many homeowners. A professional installer makes sense when:
Your transformer needs to be upgraded or replaced
You have a digital chime, an intercom, or old wiring with no clear power source
The doorbell must mount on brick, stone, or stucco
WiFi is weak at the front door and you need network upgrades
You want the doorbell linked to cameras, an alarm, or smart locks
A professional smart doorbell installation includes checking power and wiring, mounting at the right height and angle, sealing against weather, setting up the app and alerts, and confirming a strong signal before the technician leaves. For homeowners in Central Texas, our Security Camera Installation in Austin, TX team installs doorbell cameras alongside full outdoor camera systems so every entry is covered.
Make Your Doorbell Part of a Complete Security System
A video doorbell watches one door. Burglars, package thieves, and trespassers often use the side gate, back door, or garage instead. The smartest setups treat the doorbell as one piece of a bigger plan:
Security cameras on the driveway, side yard, and back entrances
Door and window sensors and motion detectors tied to an alarm system
Smart locks so you can let in a family member or contractor after you see them on camera
Outdoor lighting to improve night video and discourage intruders
Professional monitoring so someone responds when an alarm goes off, even if you miss the alert
Many doorbells also work with voice assistants and smart displays, so you can see who is at the door on a screen in the kitchen. When your doorbell, cameras, and alarm work together, you get a full picture of what is happening around your home.
Frequently Asked Questions About Video Doorbell Installation
How long does video doorbell installation take?
A wireless video doorbell can often be installed in under an hour. A wired installation usually takes one to two hours, and longer if the transformer must be upgraded, a chime adapter is needed, or the doorbell mounts on brick or stone.
Can I install a video doorbell without existing doorbell wiring?
Yes. A battery-powered wireless video doorbell does not need existing wiring. You mount it, charge it, and connect it to WiFi. Some models can also be powered by a plug-in adapter if an outlet is nearby.
Why does my video doorbell keep going offline?
The most common causes are a weak WiFi signal at the front door and not enough power from the transformer. Check the signal strength in the app, test your upload speed at the door, and confirm your transformer meets the doorbell’s voltage requirements.
Will a video doorbell work with my existing chime?
Most wired video doorbells work with standard mechanical chimes. Digital chimes and some intercom systems may need an adapter or bypass kit. If your chime buzzes or stops ringing after installation, it usually points to a chime compatibility or power issue.
Do I need a subscription for my video doorbell?
Live view and two-way talk usually work without a plan. Saving and reviewing recorded videos, along with advanced features like person and package detection, often requires a monthly subscription. Some models offer local storage options instead.
What height should a video doorbell be installed at?
About 48 inches (4 feet) from the ground is the most common recommendation. That height captures clear faces and still lets you see packages, especially when paired with a wedge kit that tilts the camera slightly down.
Get Your Video Doorbell Installed the Right Way
A video doorbell is only as good as its installation. Choosing the right power option, mounting at the right height, confirming your transformer and WiFi, and tuning your settings will give you clear video and alerts you can trust. Plan for Texas heat and storms, and connect the doorbell to the rest of your security system, and you will have a front door that protects your home around the clock.
Red Alarm installs video doorbells, security cameras, alarm systems, and smart home technology for homeowners and businesses across Texas. Our licensed technicians handle the wiring, mounting, network setup, and app configuration so you do not have to troubleshoot it yourself. Learn more about our Security System Installation Corpus Christi TX services and the areas we serve.